Building a Libre Server: ASUS KGPE-D16 Workstation Build W/ Libreboot
January 29, 2022
Background
About four months ago, I decided I wanted to replace my laptop with a true desktop PC. Having a laptop is nice if you’re a commuter student as I once was, but for a long time I’ve been ready to move on to something more modular, secure, and extensible. A desktop was the obvious choice for me, although I did consider the Framework, Purism, Pine64, and System76 projects as well.
Not Just Any Desktop
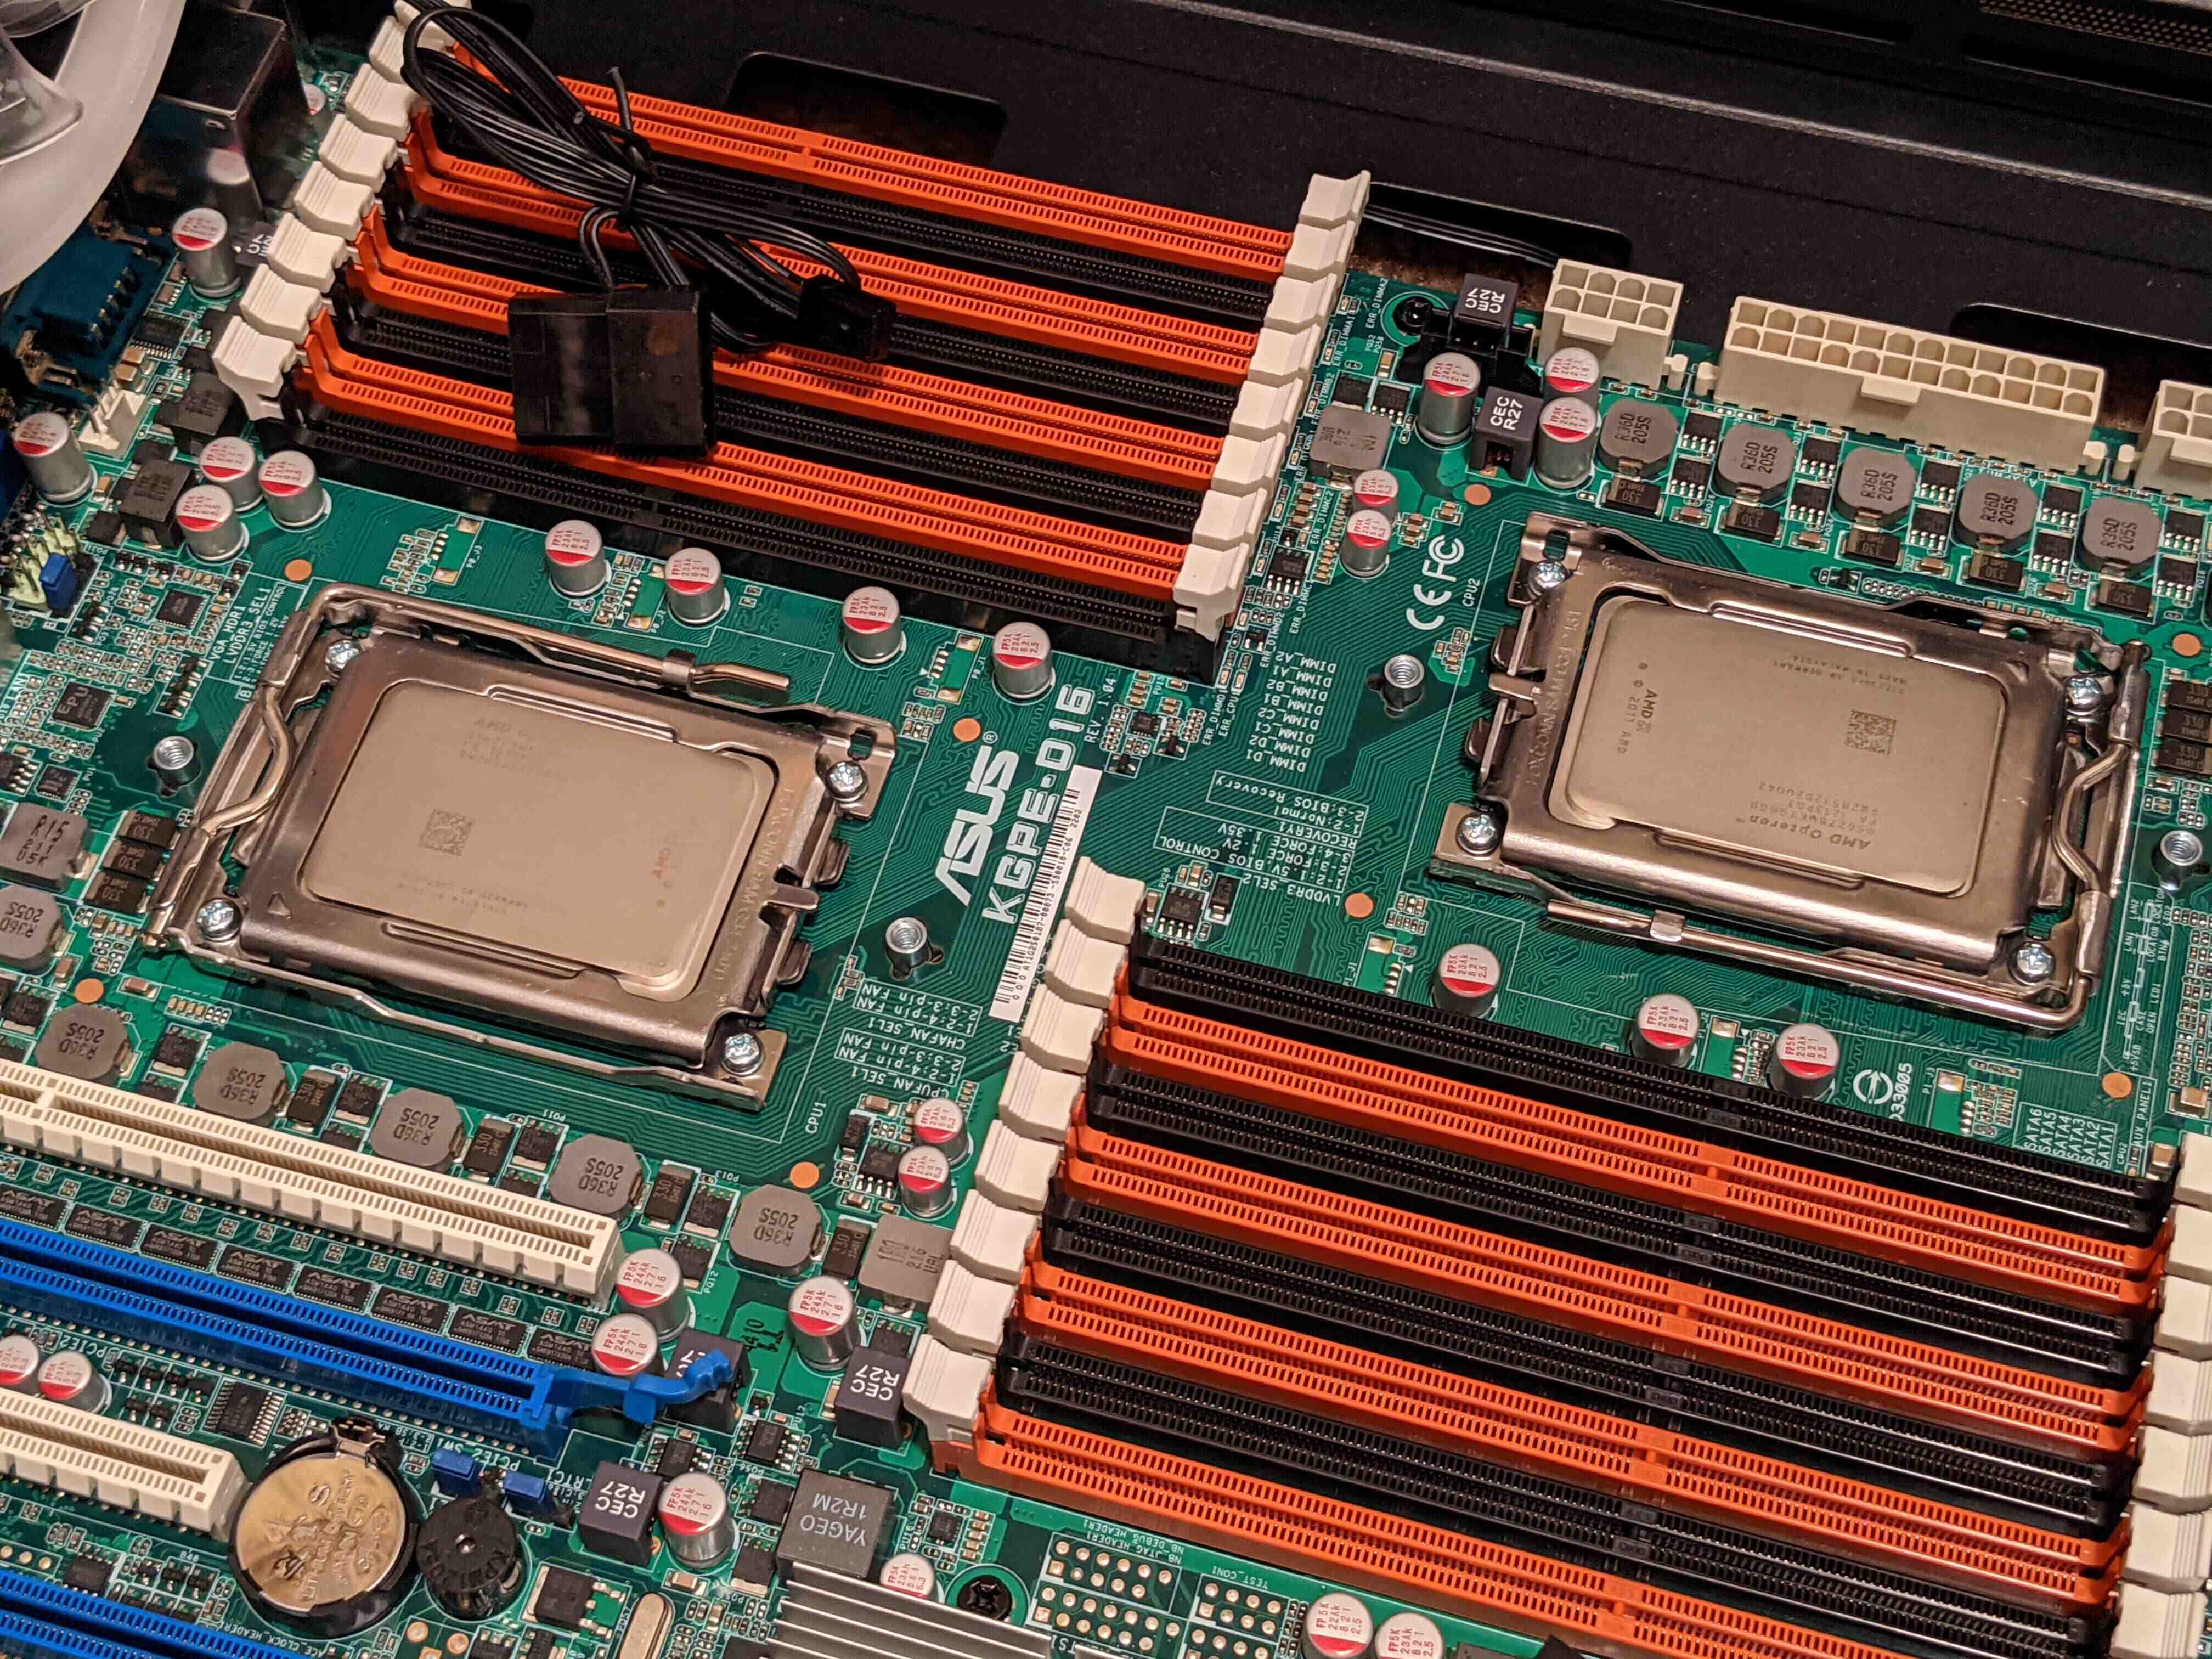
If I’m gonna build a desktop, I’m gonna do it once. I don’t wanna have to tear into the case any more than I have to. But as I said, I wanted something secure, modular, and extensible. This build had to be at least as powerful or (preferably) more powerful than my laptop was. I also wanted to be able to flash Coreboot or Libreboot to the board, and combine that with full disk encryption for ultimate security. But finding a decent, sort-of-modern board that’s compatible with Libreboot isn’t as easy as it sounds. Most of the devices that Libreboot supports are old Thinkpads, old server/workstation boards, and a handful of Chromebooks for some reason. All aside, after weighing my options, I bought a refurbished ASUS KGPE-D16 board off eBay.
The Components
The most tedious and confusing part of this build was gathering the parts. If you dare attempt a build like this, you need to ensure you’re buying exactly the right components, as Libreboot can be kinda picky with hardware support.
RAM Modules
Here’s an example from personal experience: Using the stock BIOS, a user should be able to use virtually any ECC DDR3 UDIMM, RDIMM, or LRDIMM module with this board, up to 1600Mhz, as long as you’re running a 6200+ series CPU. Simple. However, with Libreboot, there are only a few very specific modules that are known to work properly, with some brands being more or less reliable than others (it is recommended to avoid Kingston modules). And not just that, but the compatibility of those very specific modules can change depending on the other core components in your system, such as your CPU model, your particular board revision, etc. The Coreboot Wiki has an excellent breakdown of memory modules that are known to work with various configurations.
CPU Variants
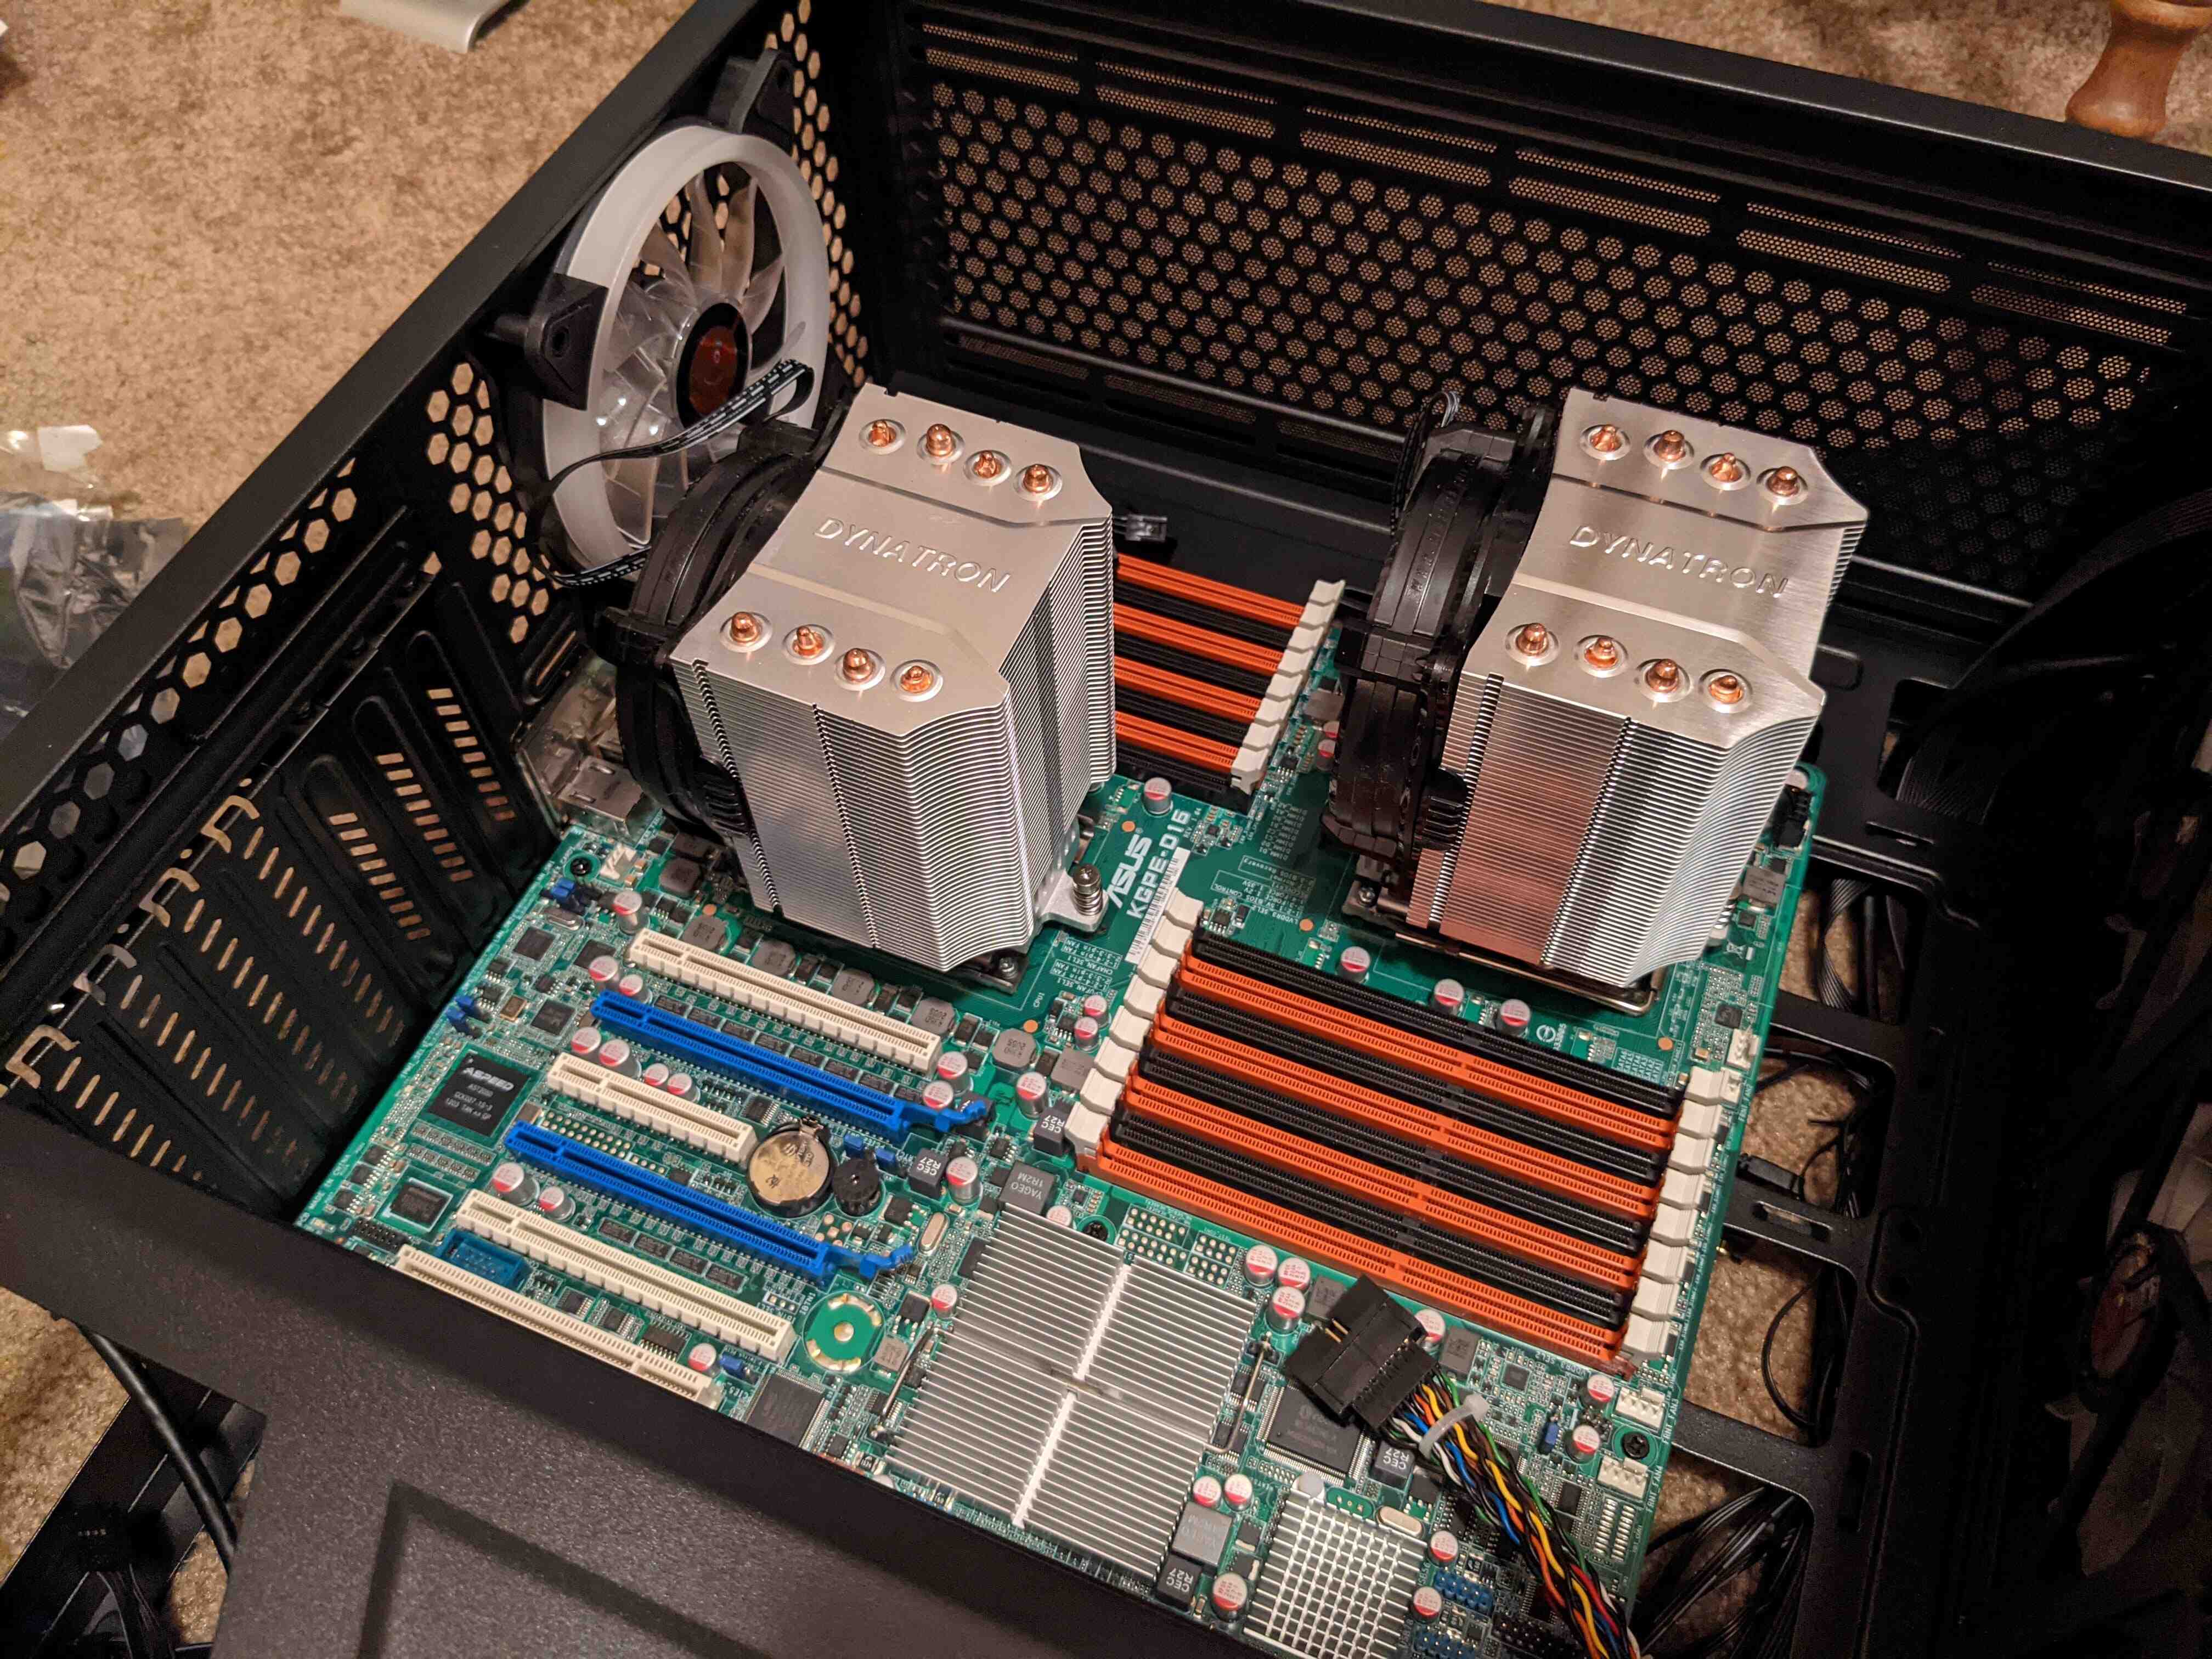
This is a hefty board, meeting the SSI EEB 3.61 (12“ x 13” !) size spec. It’s also one of the few boards to support the AMD G34 socket, which is used exclusively(?) in the server and workstation space. The board is dual-socketed, and compatible with most Opteron CPUs. That said, only the 6100, 6200, and 6300 Series chips are supported by Libreboot. The number of cores per CPU varies some, but most of the Opterons feature a standard 16. Be warned, though: Running dual Opterons in a retro server board might sound really cool, but the individual performance per-core is just garbage. Don’t expect to get power out of this platform. If you want to learn more about the board despite that, the best resources are the official ASUS KGPE-D16 Manual or the KGPE-D16 Libreboot Wiki page.

When I received my board, it came with just one 6100 Series CPU and a single 2U fan. Quite honestly, that just wasn’t gonna work for me – we’re building this thing once. You don’t buy a dual-socket board to NOT have two CPUs in it. Tossing the 6100, I bought a set of Opteron 6278s. They’re not the most powerful Opterons, but they don’t require any microcode updates to function securely, like most of the 6300 Series chips. The 6100 Series Opterons are older, slower, and mostly untested with Libreboot, so I wanted to stay away from those.
Coolers and Fans
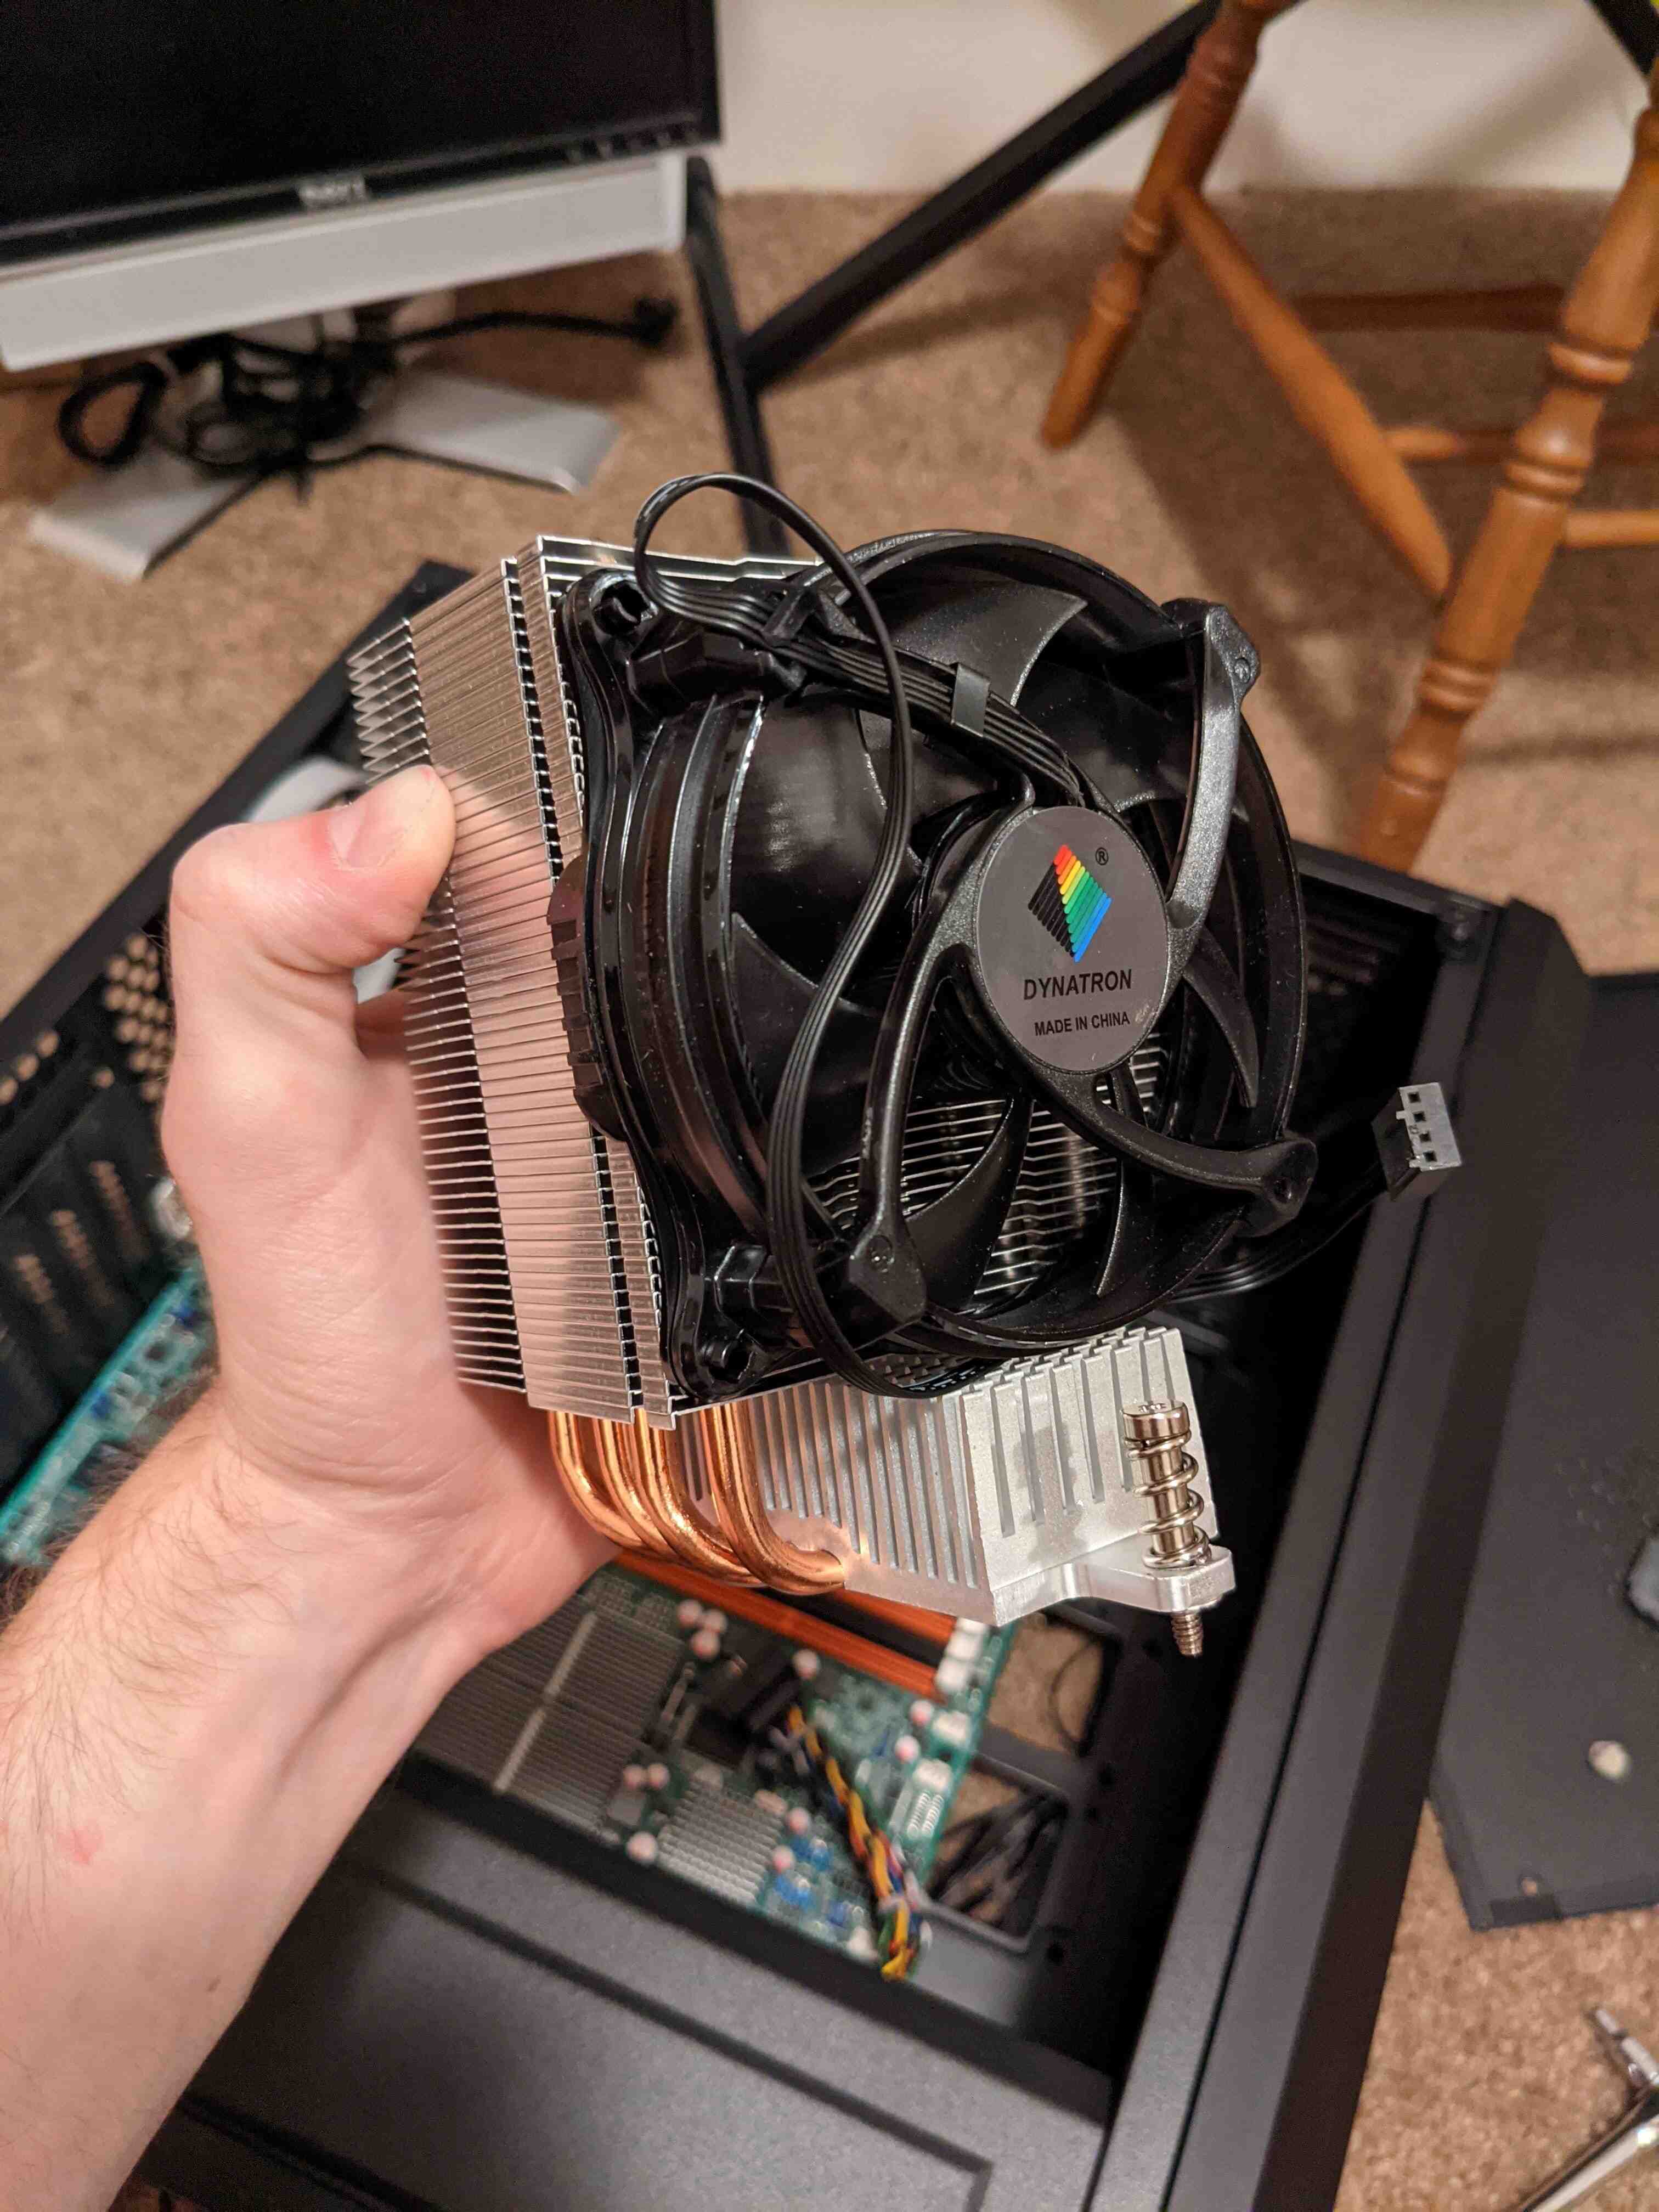
Good luck finding coolers if you try this build. Heatsinks for the G34 socket are basically extinct, even on eBay. I was, thankfully, able to get my hands on a pair of Dynatron T757 coolers¶, but they cost twice as much as an average heatsink would, which was disappointing. But, they are BEEFY coolers, and they keep the CPUs cool, so it’s alright.


¶ At the time of writing (January 29, 2022), the T757 coolers have become out of stock on Newegg, and I doubt they will ever be back in stock.
The Case
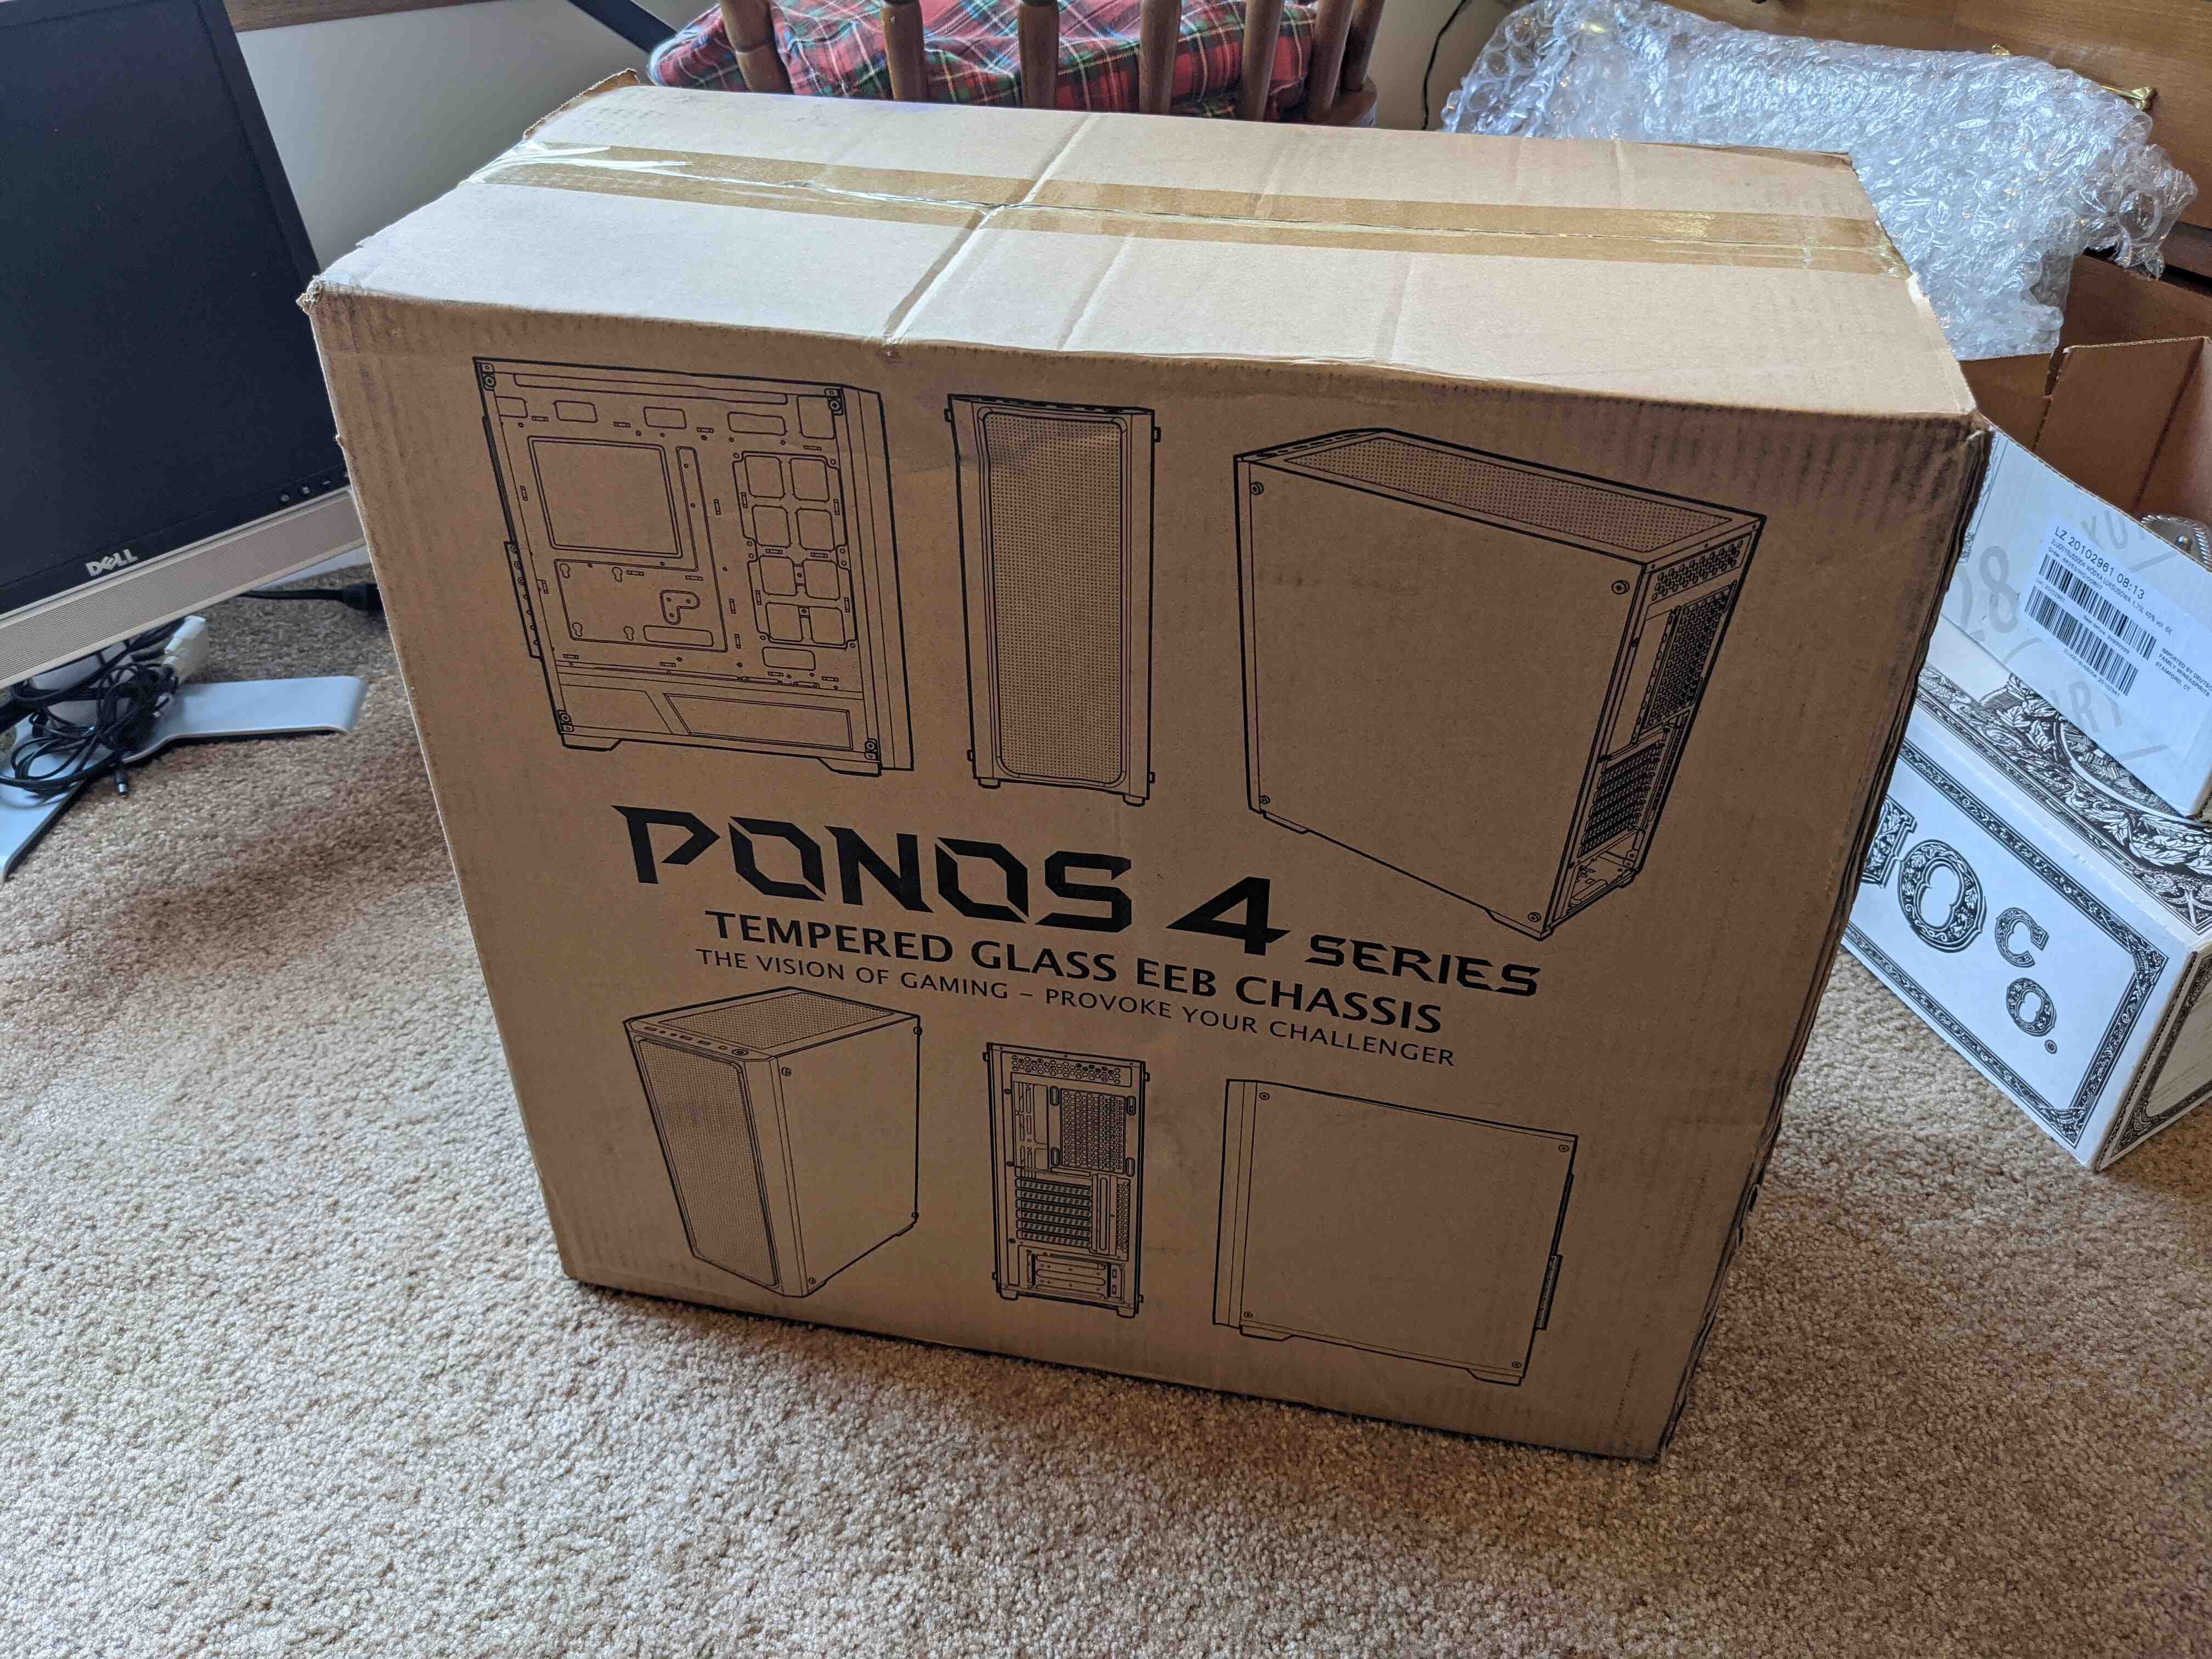
Finding a decent case was difficult, too. This is a server board, after all – it’s just expected that you’d throw it into a normal chassis and mount it on a server rack. But I didn’t want to mess around with putting this thing in a true server case. I don’t have space on my desk for that, and at the time of building, I also didn’t want to invest in a rack to mount it on. I just wanted a normal consumer case, at least for the time being, for sake of convenience. The cheapest case on Newegg to support the SSI EEB 3.61 spec was good enough for me.

Misc.
Something I didn’t realize when I purchased this board was that it didn’t have any USB 3.x I/O. I usually don’t mind not having USB 3.x, but for an extra $22 I was willing to add the functionality. We’re building this thing once.
The board also doesn’t have any built-in audio output, which is understandable since it is intended as a server board. I had an old (I mean OLD) Creative Soundblaster lying around from a desktop I tore apart years ago, so I tried throwing that into the case, but it wouldn’t give me any output. I wasn’t even sure if the card was still functional, so I decided to remove it and just use a Scarlett 2i4 as the main audio device. It’s actually pretty nice all things considered – I like having a physical volume knob instead of adjusting it with a keybinding or a GUI.
Libreboot Challenges
When I first began this project, my dumb ass somehow missed the very clear disclaimer on the Libreboot Wiki that graphics DO NOT INITIALIZE when running Libreboot on this board. This is fine if you’re intending to use it as a server as you’d probably only need text mode, but it’s not so great if you want to use it as a desktop PC, which is why I originally began the build.
For years, I’ve been sitting on a second BIOS chip with Libreboot already prepared, but have kept using the stock BIOS so that I could have access to graphics mode. That said, I have recently purchased a Thinkpad x230, which will soon be acting as my main machine once I have a chance to install some custom BIOS and swap out the chiclet keyboard for the classic x220 keyboard. This means that my KGPE-D16 will be able to finally retire, and become the home server that it was always meant to be – Libreboot and all.
⬅️ Go Back • 📬 Reply via E-Mail • 🗞️ Subscribe
•

![Grab the RSS feed! [RSS]](/pix/buttons/rss.png)
![Share this article with a friend! [Share]](/pix/buttons/sendit.gif)